Six steps.
- 1
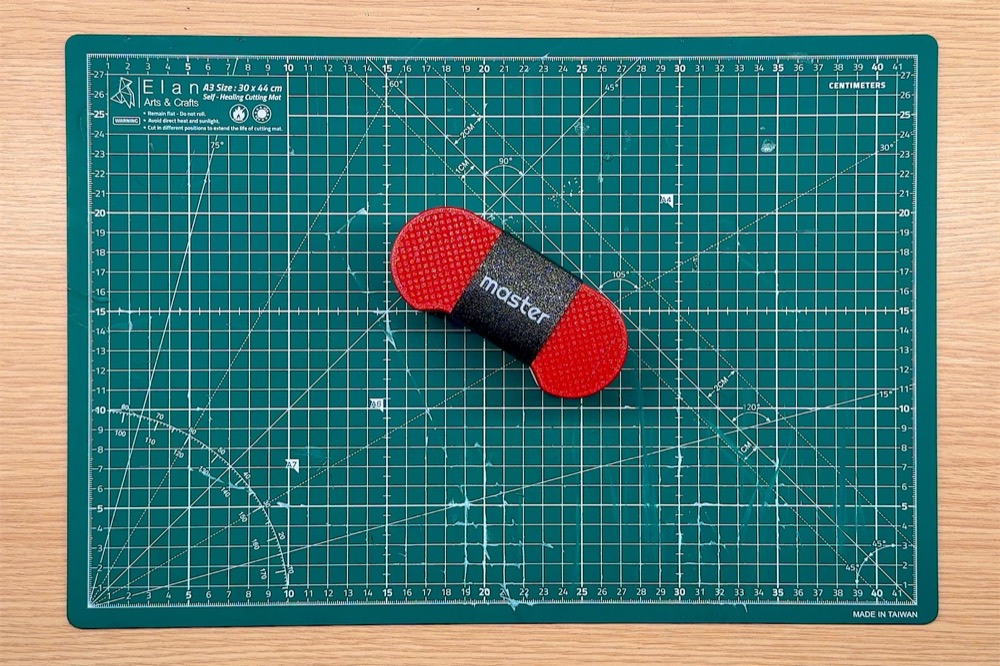
It arrives like this
Grip Master comes packed in one compact block, held together by the band. Slide the band off to open it.
- 2
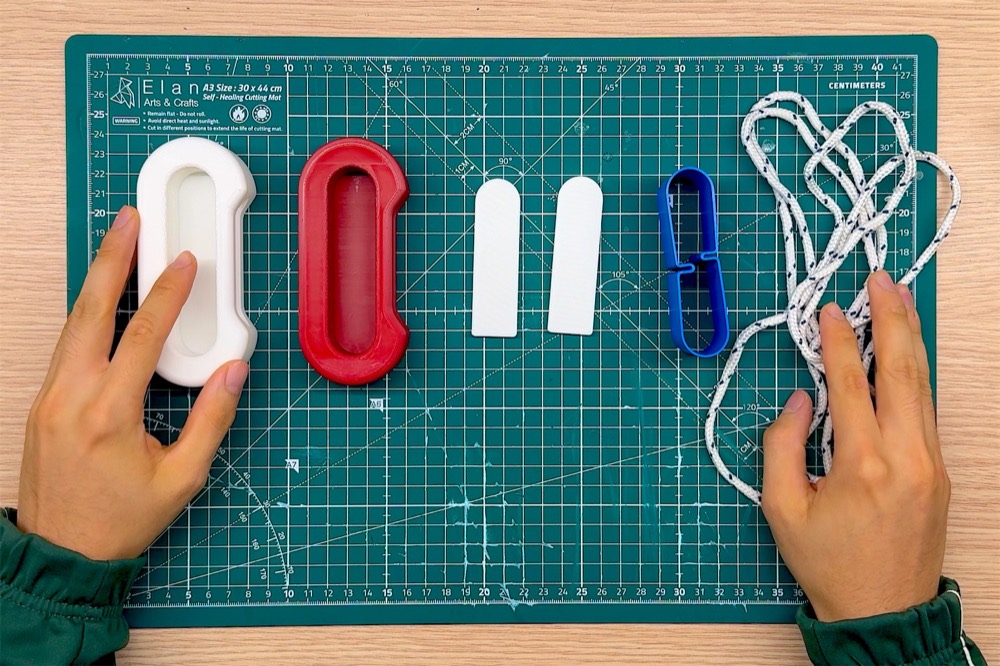
Lay it all out
Open the kit and lay out every part: the two holds, the two plates, the connector and the two cords.
- 3
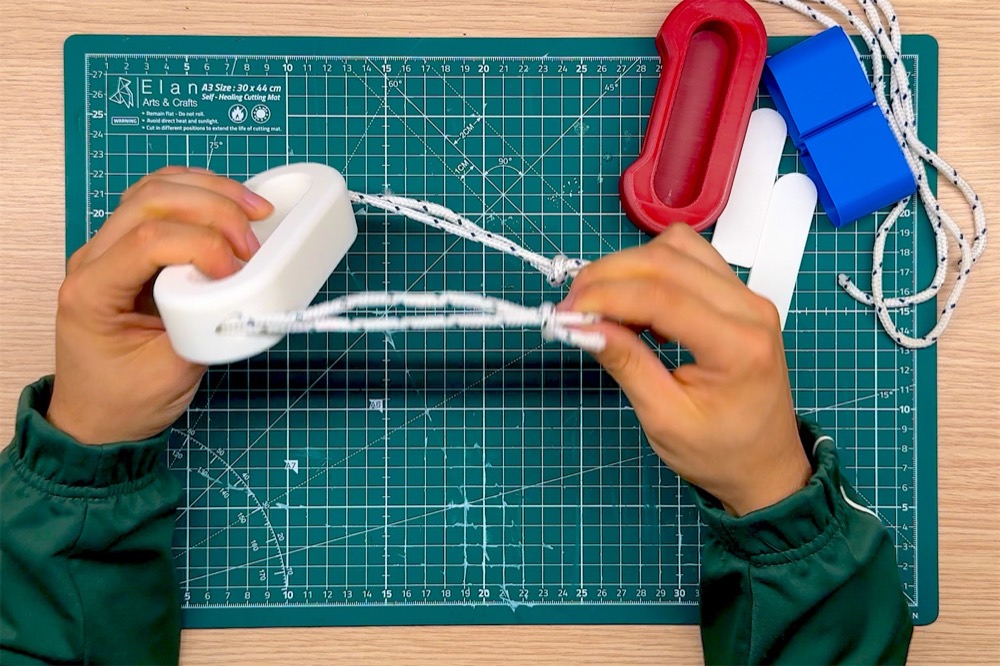
Thread and tie the cords
Pass a cord through the slots of one hold, tie it and pull the knots tight. Do the same with the second hold.
- 4
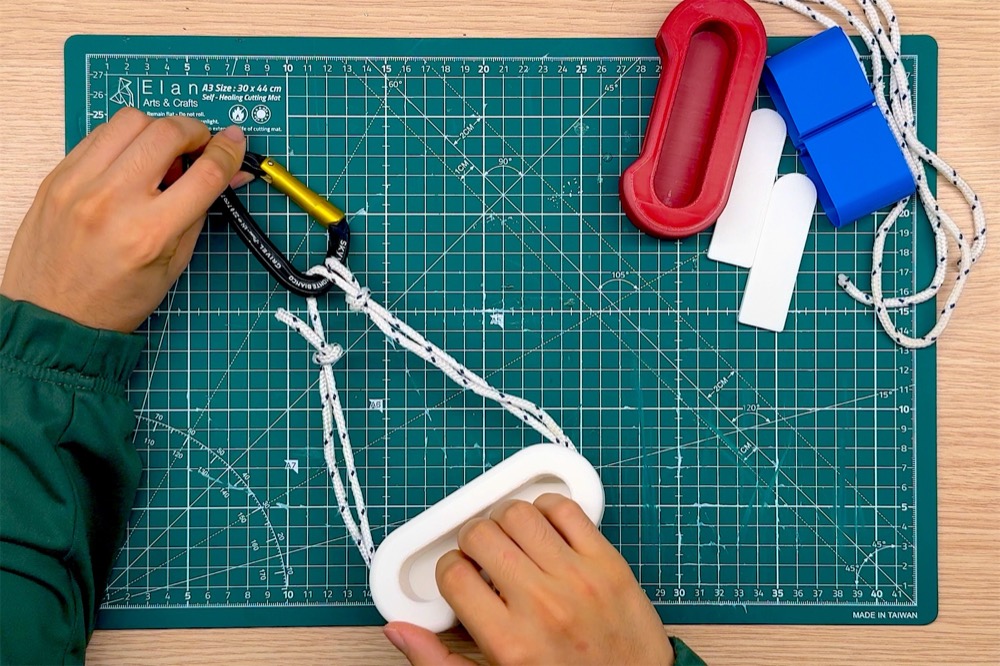
Clip the carabiner
Clip the cord loops of both holds into the carabiner. That’s the point you hang it from, or where you add a weight.
- 5
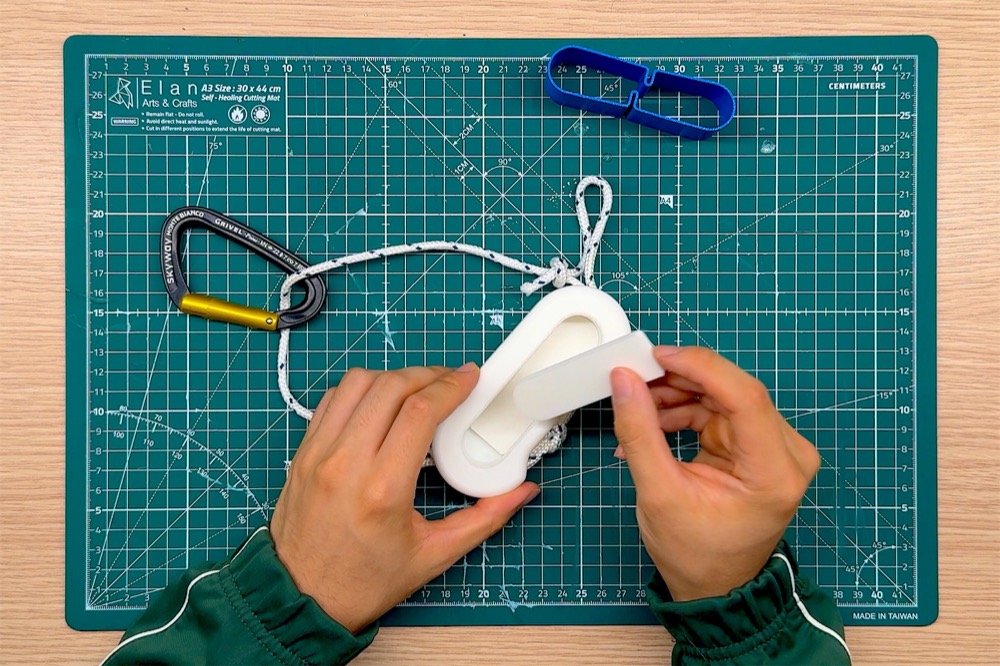
Set the edge depth
The bare edge is 25 mm. Slot in one plate for 20 mm, two plates for 15 mm.
- 6
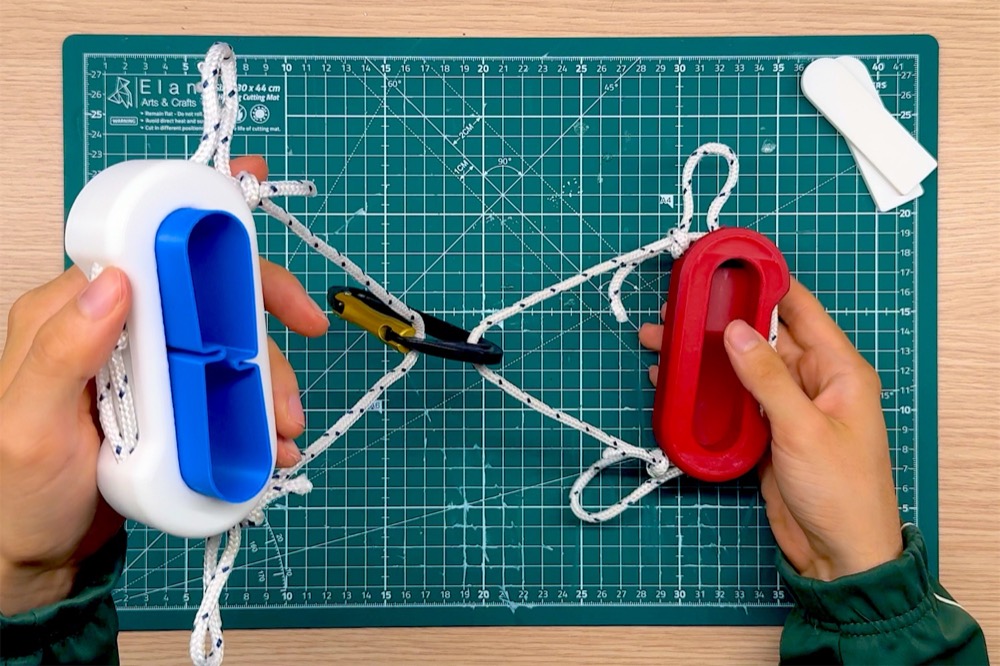
Add the connector
Slide the connector into the holds to join them into a single hangboard. Leave it out to train each hand on its own.